Omni Support
Uploading/Adding Documents
When you need to upload document, make sure the document/file size is below 3MB (megabyte). Please read file naming rules at the bottom of this page.
How to Upload Documents
- Navigate to the sub-site's documents folder
- Click on Upload found in the top right area of Omni

- Either click and drag your document(s) or click Add to attach the documents you would like to upload.
- Make sure the file extensions match one of the following: pdf, doc, docx, xls, xlsx, ppt, pptx
- Click Start Upload. Once the document is uploaded, publish the document(s) in-order to use them on your pages.
How to Add Documents Onto Pages
When editing a page you can add documents to the page content or component.
- While editing a page, create a link. You can also highlight text before creating the link.
- In the insert/edit box, click the file chooser
 to navigate to the sub-site's documents folder.
 - Click Insert.
- Save and publish the page to the live server to have the changes appear on the live site.
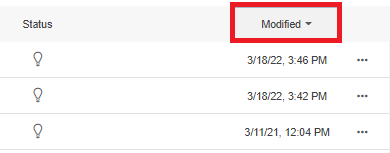
Note: To easily find recently uploaded document, click on "Modified" in the documents folder and it will sort by most recent date.
File Naming Rules As of December 2022
Please use the file name checker below if you want to double check your file is named correctly.
- All lowercase
- No spaces
- No underscores
- a-z and 0-9 characters allowed
- No symbols, no parentheses
- Dash is allowed to separate words
- Max 30 Characters